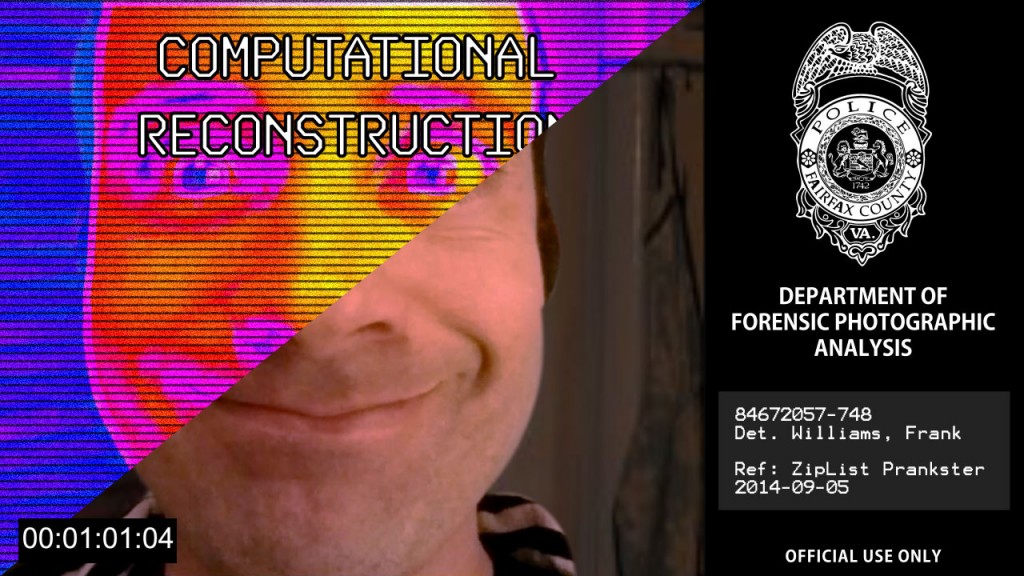
This is the story of a fake “Forensic Image Analysis” effect I created to pin the blame for some recent office pranks on my colleague, Kalimar. My faked police scanning effect was accompanied by doctored-up emails of my conversations with a local Fairfax detective in which he explains that modern CCD cameras actually capture a small amount of infrared light that can be extracted with their advanced forensic photography analysis. This set up the idea that the Prankster would be unmasked by this new image scanning technology!
Background
I work at a technology company called ZipList. A few weeks ago, someone at work started to pull lighthearted pranks around the office, accompanied by notes that would taunt us and boast that he or she would never be found out.
This started a cascade of copycat pranks and false “evidence” that pointed blame at almost everyone in the office. At one point, I posted these “surveillance photos” of two of our staff members supposedly scheming about their pranking.

This went on for some time, with increasing levels of manufactured evidence quality.
The Prankster had created a Gmail account under the name “ZipList Prankster” that included a user-profile photo of our chief architect Tim that the Prankster had gotten from the company archives in an attempt to cast blame in his direction.
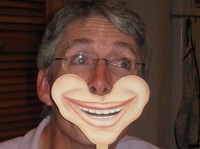
As the pranking response continued to escalate, I had the idea of creating a fake forensic image analysis sequence like you might see in the movies where the perp is unmasked by intense photographic analysis.
I chose the Prankster’s profile photo (even though we all knew it was Tim behind the mask) as the evidence from which the police image analysis would reveal the Prankster.
The Set-Up
I had already decided that I wanted to implicate Kalimar, one of our office colleagues, and was able to find a picture on his Facebook page. On the left is the original misappropriated office photo of Tim, with Kalimar’s Facebook photo on the right.
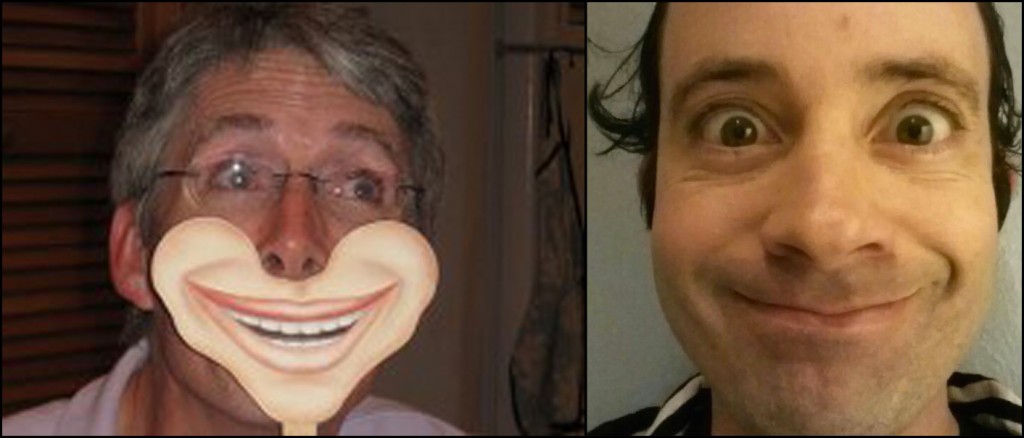
I chose this image because Kalimar’s smile bore a striking resemblance to the mask that Tim was holding in front of his face in the evidence photo.
So that became the plan; to somehow reveal the photo of Kalimar hidden within the image of Tim. Clearly, this would require a very impressive-looking display of fictional police technology.
Production
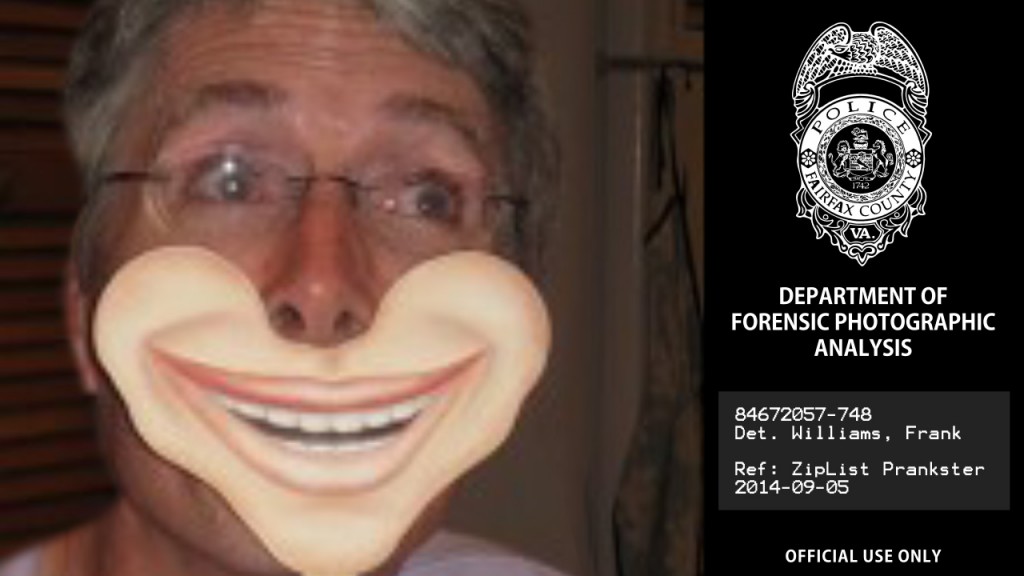
I started by color-correcting, then resizing and aligning the two images in After Effects. It was actually kind of uncanny how well the two images overlapped. Next, I did some masking to trim Kalimar’s hair and to place both heads over the same background image I’d created from Tim’s photo.
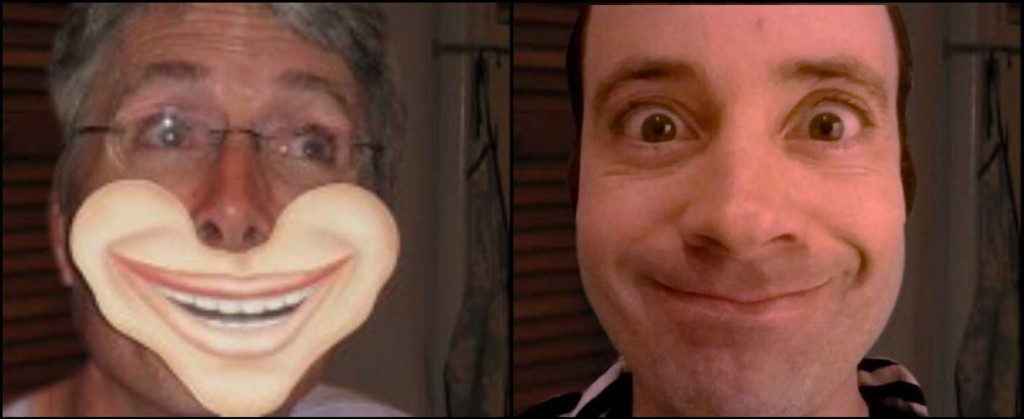
At this point, I could dissolve back and forth and it looked okay. The mouth was almost perfect but the rest of the two head-shots were still very dissimilar. I needed a way to get people to focus on the mouth change, which was fairly believable, and distract them from changes to the rest of the picture.
I thought that a fake “thermal analysis” might accomplish both goals. I figured that the grainy image and false-color should be enough to hide much of the changes and that a focus on the processing of the (more believable) mouth area would complete the distraction.
So I created a pre-comp containing a timed dissolve transition between the two images and then set up time-remapping so I could control the transition from the master comp. This first transition pre-comp became the clean before/after layer that sat at the bottom of the AE stack.
I duplicated this layer and applied a “thermal” effect composed of Colorama for the fake thermal, Minimax for a blotchy degradation of the image, Venetian Blinds for the scan line effect and a bunch of animated noise to top it off. Transitioning this layer from the first to second image looked better, but it was still pretty obvious.
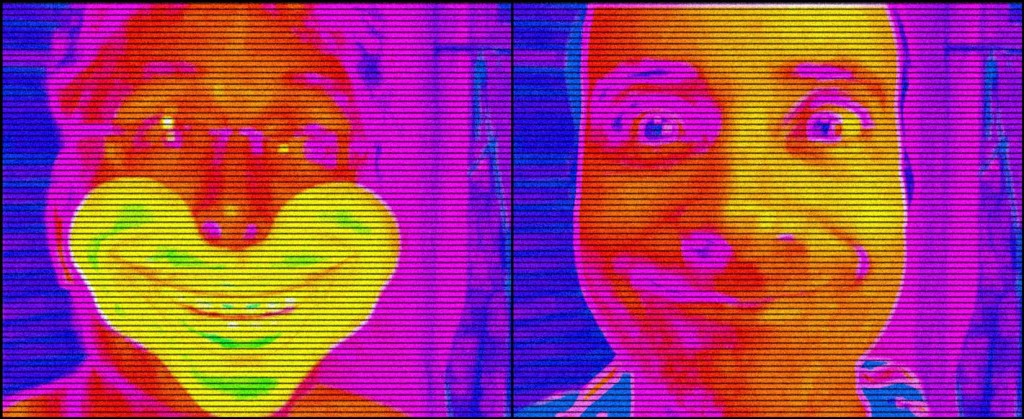
To transition from the original clean layer to the first thermal layer, I used a simple vertical linear wipe combined with a moving “scan” bar similar to what you might expect from a photocopier. The bar is simply a feathered mask of a white solid composed using the Add blend mode. This created a pretty good-looking scanning effect.
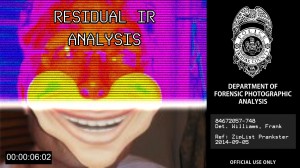
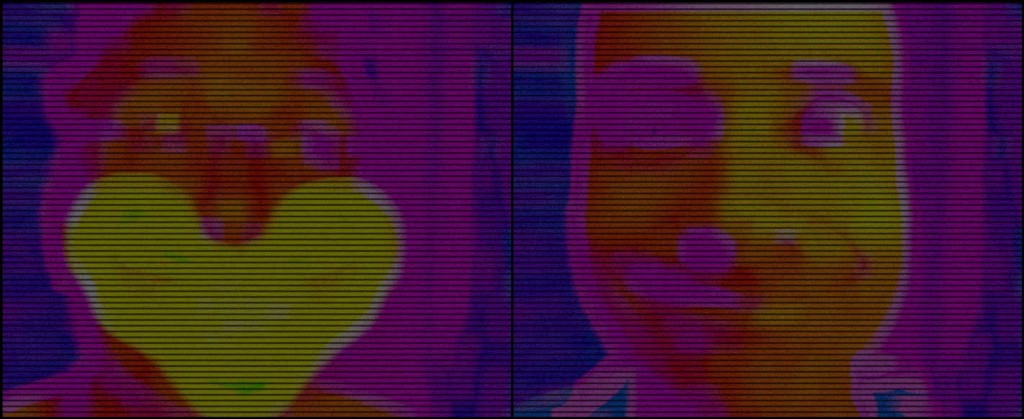
Then, I duplicated the original dissolve pre-comp to make a second thermal layer that would be darker and less detailed in order to better hide the transition. In this comp, I bumped up the Minimax to remove additional detail as well as adding a black semi-transparent solid to dim it even further and make it fade into the background. In this layer, it’s hard to see much of anything beyond the yellow mask, yet the transition was still quite noticeable.
To get viewers to focus on the mouth area, away from the transition, I wanted the police computer to identify the mask as an “obstruction” to be removed and then animate the removal of the mask via “advanced image processing.”
I duplicated the first thermal layer to the top of the stack, created a mask for the mouth and then copied the mask into a new shape layer. In the shape layer, I added a glow and scatter effect to the stroke to highlight the mouth and obscure the darker background.
More passes of the scan bar add the bright, noisy stroke highlight and the mouth area is “isolated” from the background of the image containing the darker thermal layer. Some flashing status text positioned over the dark background helps hide the transition further.
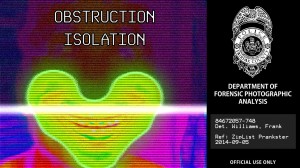
As the background transitions to the dark thermal layer, I’ve already advanced the Tim/Kalimar transition in the dark thermal layer by around 30%, which wasn’t very noticeable in combination with the degraded detail. Meanwhile, the mouth is still displayed from the first high-detail thermal layer without progress on the transition, to make the viewer believe that nothing has really changed yet.
For the mouth “image processing”, I made four additional copies of the mouth layer and advanced the Tim/Kalimar transition further in each one. A new horizontal scan bar and horizontal linear wipes are used for the effect of the computer scrubbing away the mask to reveal the image underneath.

This worked really well given that the mouth transition is pretty seamless. All the scrubbing activity and the progressive reveal distracts the viewer from noticing that I’m also slowly advancing the Tim/ Kalimar transition in the dark thermal layer from 30% to 80% during the processing. At the end of the mouth sequence, the mouth is 100% Kalimar while the dark thermal background is 80%.
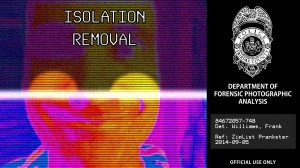
In the next couple of vertical wipe transitions, the mouth outline is removed and the dark background is transitioned back to the higher-detail thermal layer, during which the image undergoes the last 20% of the transition.
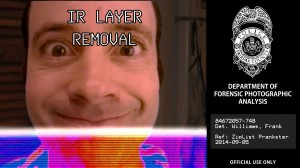
At this point the full image is 100% Kalimar, though slightly obscured by the original thermal degradation and noise. In the last pass, the thermal layer is removed to reveal Kalimar as the Prankster!
Here’s the video…
