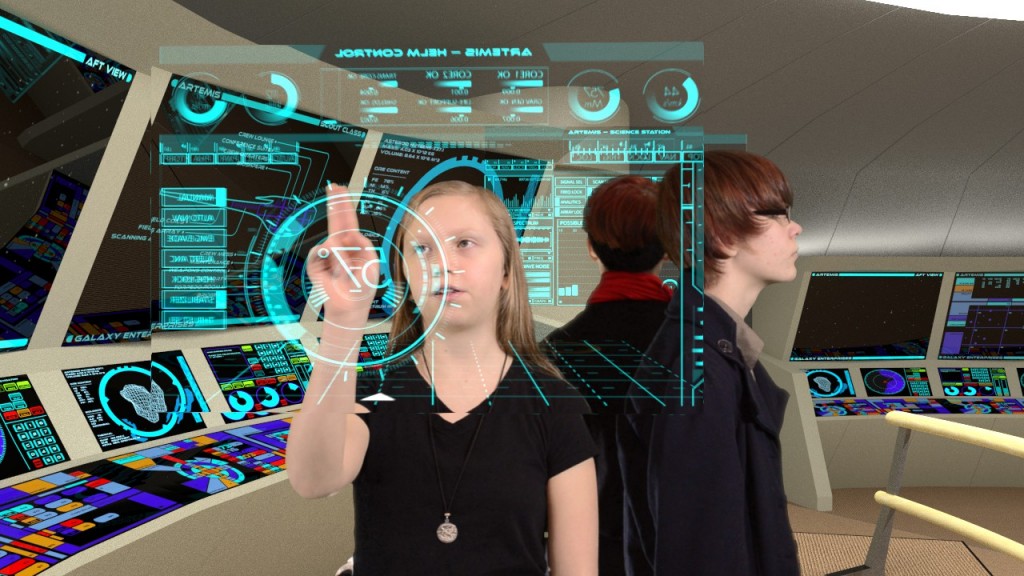
Dave has covered the green screen set at Swan Creek Studios in his post Making a Space Movie – Live Action. I will walk through the process of how to extract the girls from the green screen so that Dave can put them in a space ship. The process of using a green screen to remove the background from the subject of a video or photo is called chroma keying. Continue reading Making a Space Movie – Green Screening
Monthly Archives: May 2014
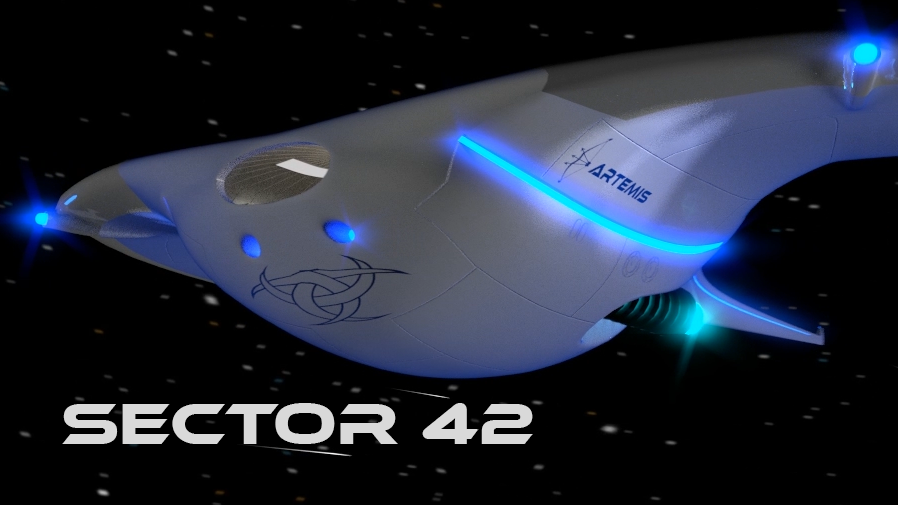
Sector 42 – The Space Movie
Three girls on a routine space mining mission in Sector 42 encounter an unknown intelligence. What will it mean to the Corporation? What will it mean to humanity?
Our amateur movie project that began as an idea on January first is finally complete! It’s been five months of long nights in the basement but it was truly a terrifically fun experience and Ken and I had a great time doing it all with our daughters.
We hope that you enjoy it as much as we enjoyed making it!
We also enjoyed writing about it, so if you’re interested in the making-of, you’ll find our stories here:
Blog Posts
- Making a Space Movie – The Set
- Making a Space Movie – Exteriors
- Making a Space Movie – Live Action
- Making a Space Movie – Post Production
- Making a Space Movie – File Management
- Making a Space Movie – Audio Editing
- Making a Space Movie – Green Screening
Videos
Making a Space Movie – Audio Editing

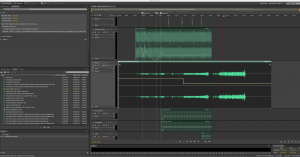
The picture shows the interface to auction and some of the tracks. At the top you can see how we varied the pan (blue line) and volume (yellow line) of the space ship rumble track as the ship passes by in the intro scenes. The larger clip on the send line is the music score. Dave and I spent about a week tweaking the levels and timing to get everything so we liked it.
Making a Space Movie – File Management
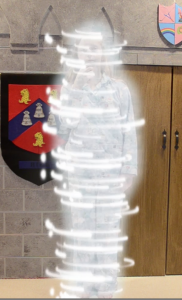
The original footage was kept in one folder and the frames from each segment of the movie, as well as the completed video, audio, and animation, segments in others. I see a few folders in there with example frames for problems that we were working through such as image quality, masking, color grading and test footage. An early test included beaming my daughter out of our basement.
Motion Graphics – Mobile Avenger
My first amateur attempt at motion graphics, influenced heavily by Andrew Kramer’s ProScores assets and tutorials.
My good friend Brad, our awesome mobile developer and product lead, was leaving our small company after many years to take on a much larger leadership role elsewhere. We would all miss him and he was a perfect subject for a promo-style homage.


