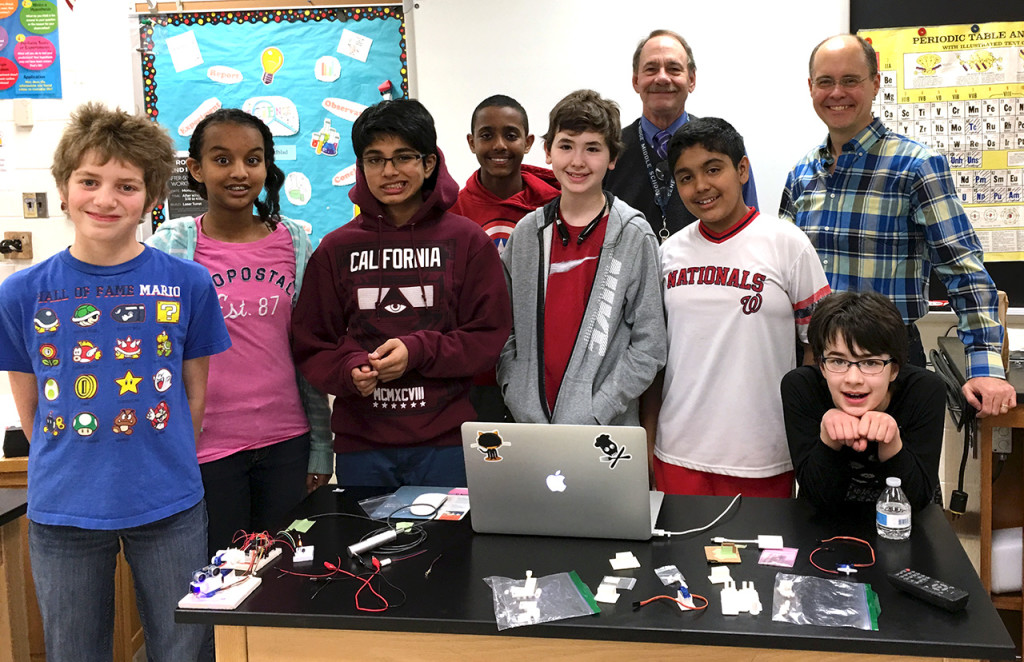
The Laser Turret project was built for a STEM technology workshop that I organized at the local middle school. “Laser Turret” was the project that was chosen among several options I offered at a talk on computer engineering and technology careers.
Weapons System Design
In order to be cool enough to impress kids, I wanted the turret to have motorized 2-axis aiming to pan and tilt the laser and fully automated aiming and firing. In order to designate its own targets, the turret would need some kind of sonar/radar target scanning and, of course, a working laser, lights and sound.
I wanted to show that we could build this new idea from scratch, so the whole thing would start with an original design that would be 3D printed to make the turret parts.
Components
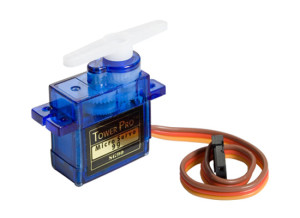
Before we could design the turret itself, we needed to choose the electronic and mechanical components that would define its operation. We wanted to try to stick to as simple a design as possible, so that meant thinking small.
The tiny 9g micro-servo is about as small and simple as mechanical output gets! 180-degrees of roboty sound and motion driven directly by one 5v pin.
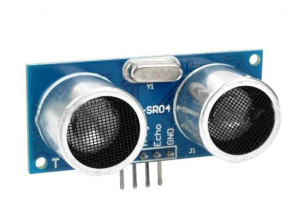
To let the turret scan its environment for enemies, we imagined a scanning sonar solution based on the HR-SR04 ultrasonic sensor. This common starter-kit component is made to sense distance using high-frequency sound echos, but I saw no reason why we couldn’t spin it around and “look” in all directions.
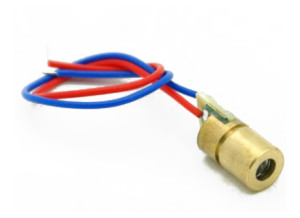
The laser itself is a genuine 5-milliwatt 650-nanometer laser, which is a fun way to not have to say that’s it’s a 35-cent laser-pointer diode.
So that’s one servo for pan, one servo for tilt and a third to rotate our scanning sonar back and forth. Add in one ultrasonic sensor, one serious-looking laser and a handful of variously-colored LEDs and wires and we’re still under $10 so far.
The turret still needs brains, a control system to process the input signals, select targets, align the laser and send those photons down range. A compact weapons package like ours deserves a sleek piece of miniaturized computing power.
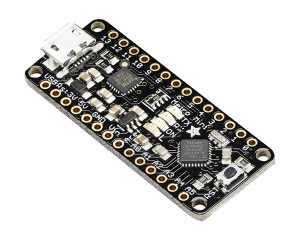 The AdaFruit Metro Mini answers the call in black stealth pajamas. The Metro Mini packs a 16Mhz ATmega328 processor, serial communication and 20 GPIO pins into its thumb-sized package and looks super-cool doing it.
Design & Modeling
Rather than using an existing design, we had decided to create our turret from scratch. The first step was to decide how the turret would work mechanically, where the servos would go and how they would move the parts of the turret.
Here’s what we came up with.
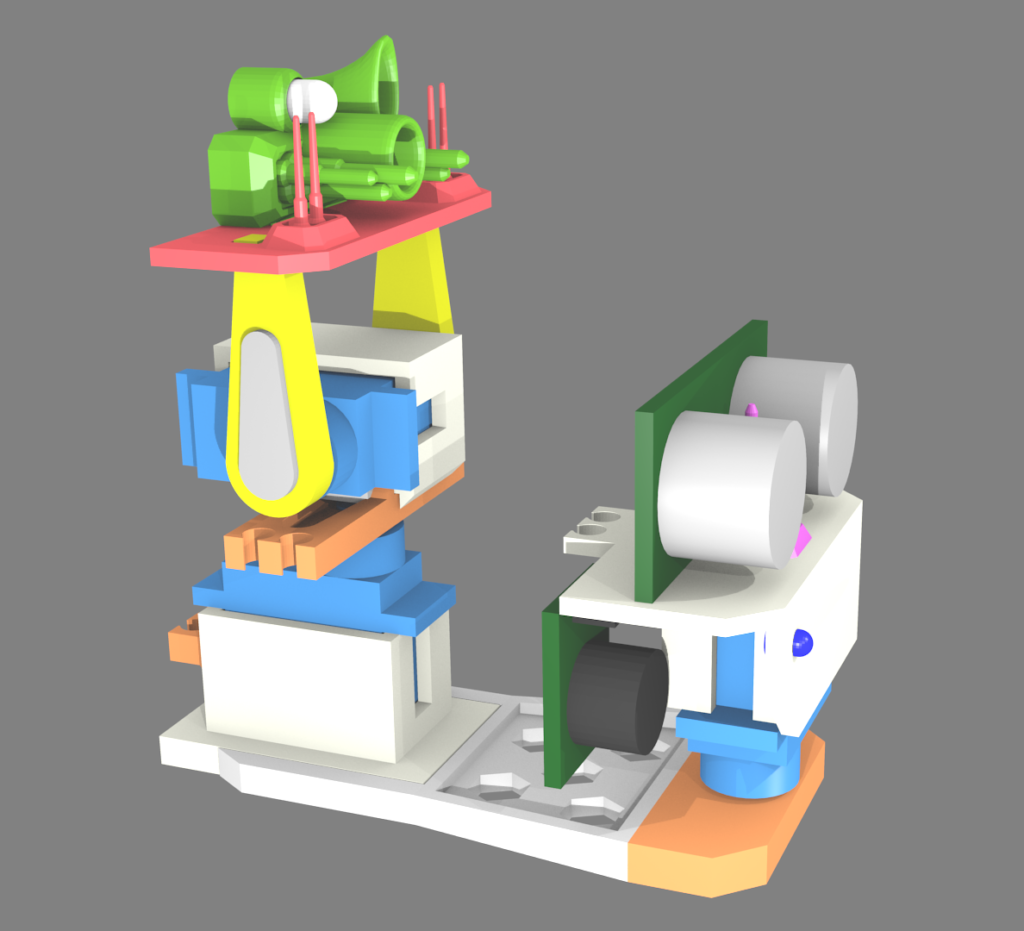
We threw away a number of more complex ideas and settled on a simple design where the laser can be stowed out of view and then pop up into pan & tilt action when an enemy is detected.
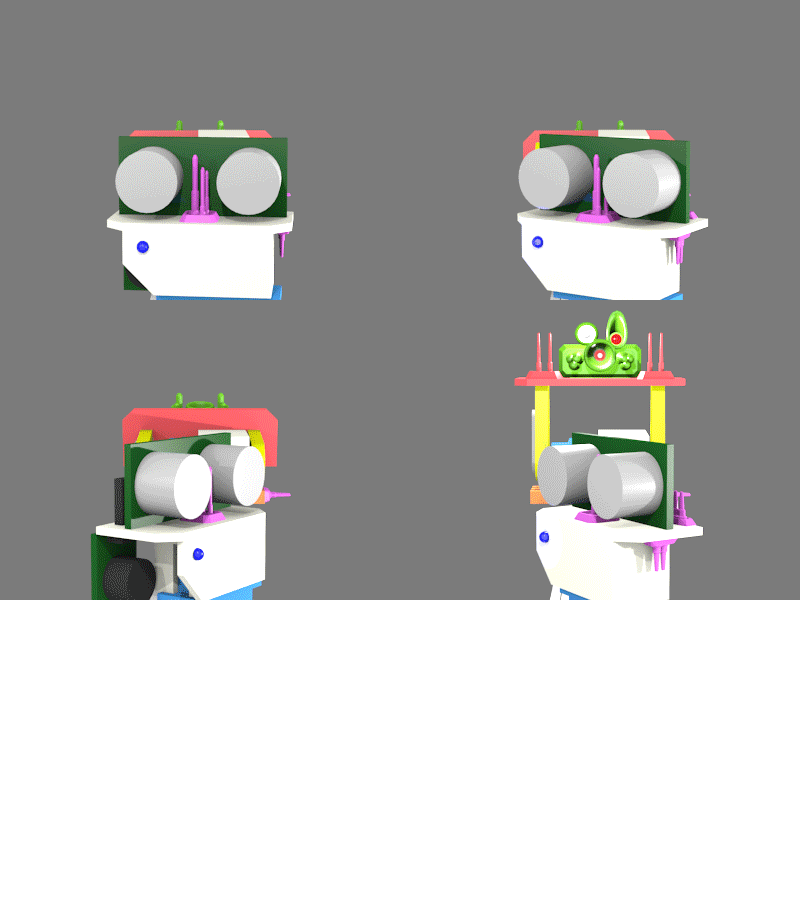
From the side, you can see the rotating sonar platform as well as the pan and tilt laser weapons platform.
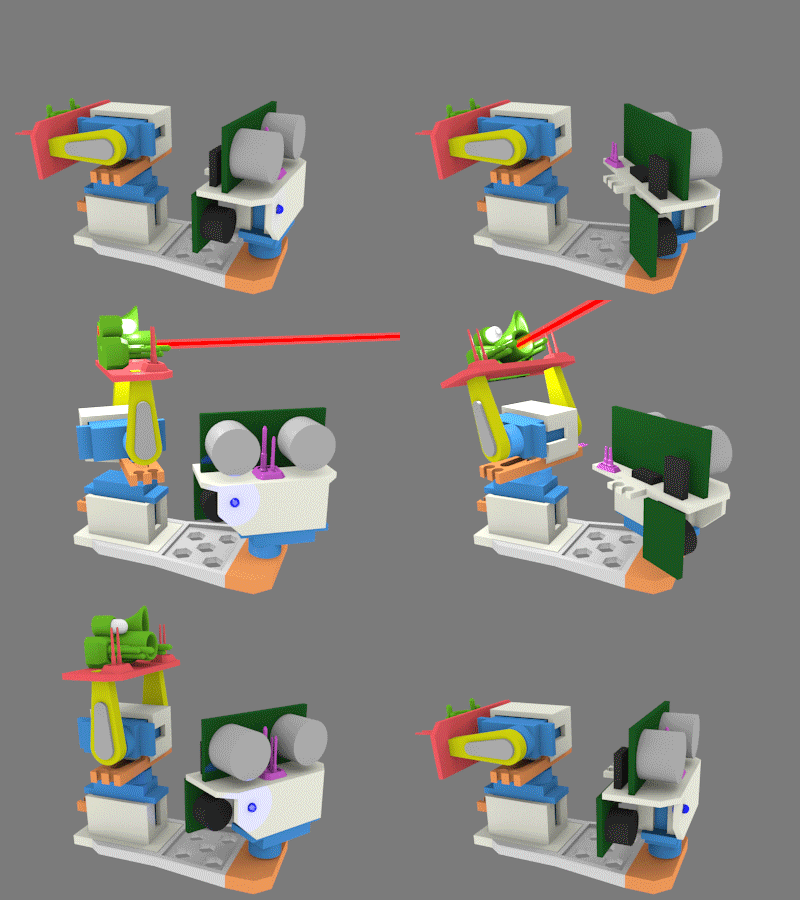
The model was built in Blender and refined with several tests using Ken’s 3D printer to ensure the eventual fit of the final parts.
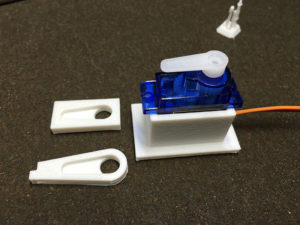
Here’s one of the test prints that shows a servo inside an enclosure that served as the model for all the servo housings. The loose square piece was used to test the fit of the servo arm, mounted on the servo. Below the test piece, you can see the final printed arm that was made from the test part’s geometry.
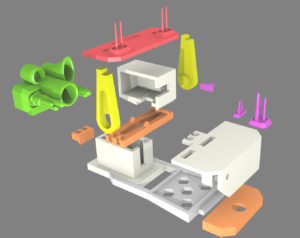
The design allowed for certain pieces to lock together and for others to rotate against each other. You can see some of the types of connections in this exploded view.
The weapons array consisted of a large “flash” LED to enhance the firing effect as well as a red LED that would mimic the laser without the eye-damaging laser light. The laser itself would only be active for less than a tenth of a second, but it was enough to mark you with a red laser dot if you were “hit”.
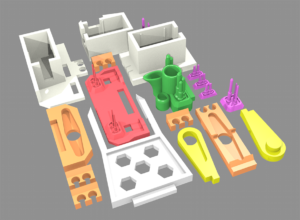
Once complete, the laser turret model was virtually disassembled and the pieces were aligned for the 3D printing of the parts.
Programming
Programming the turret consisted of three simple, specialized components. In addition to a master command program, some additional code went into managing the sonar system and the laser platform sub-components.
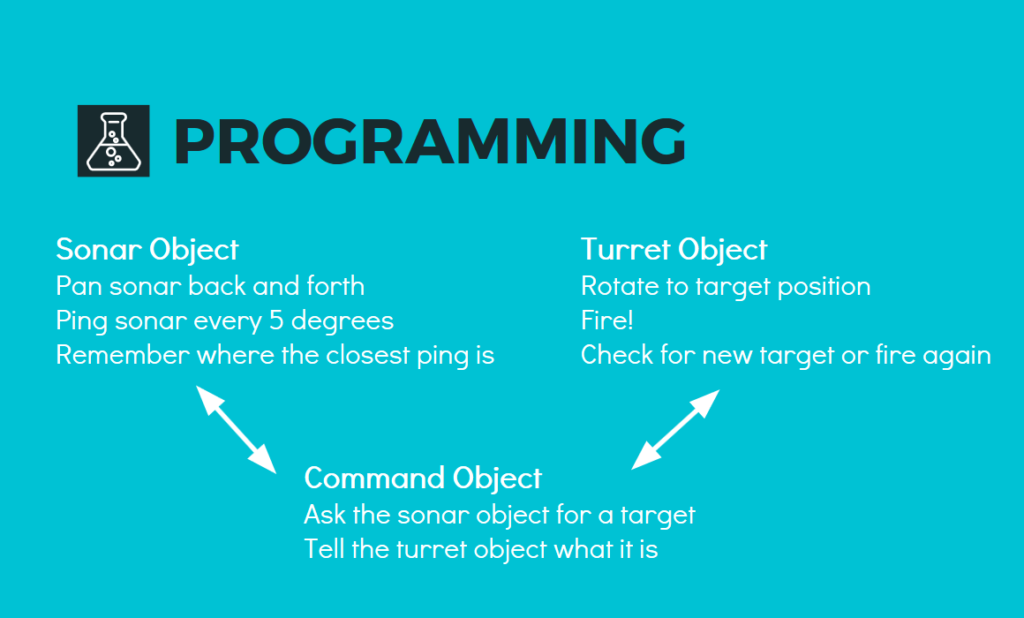
By delegating target-acquisition and firing to the sub-components, the command program became very simple, only needing to ask the sonar for a target and then handing it off to the firing platform.
Pinout
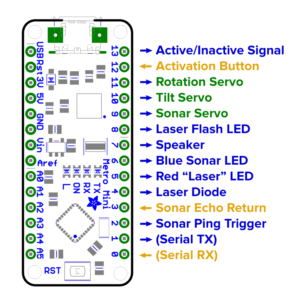
Once the physical components and the programming of the turret were defined, it was time to look at the wiring for the AdaFruit Metro Mini electronic control system. For the programming to work, all the servos, LEDs and other components needed a connection to the microprocessor.
I also created a small operator panel with an activation button and two small status LEDs. This diagram shows how it all worked out.
Assembly
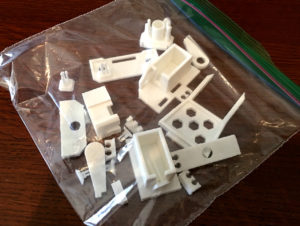
The turret came back from the printer as a baggy full of loose parts. Shout out again to Ken and his Flashforge Dreamer. Our next step was sorting through all the parts and beginning the assembly.
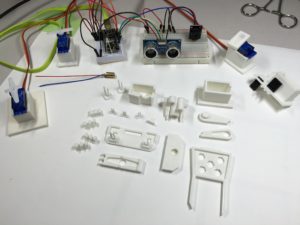
Here’s all of our turret parts arranged for assembly.
All we needed was an assembly crew.
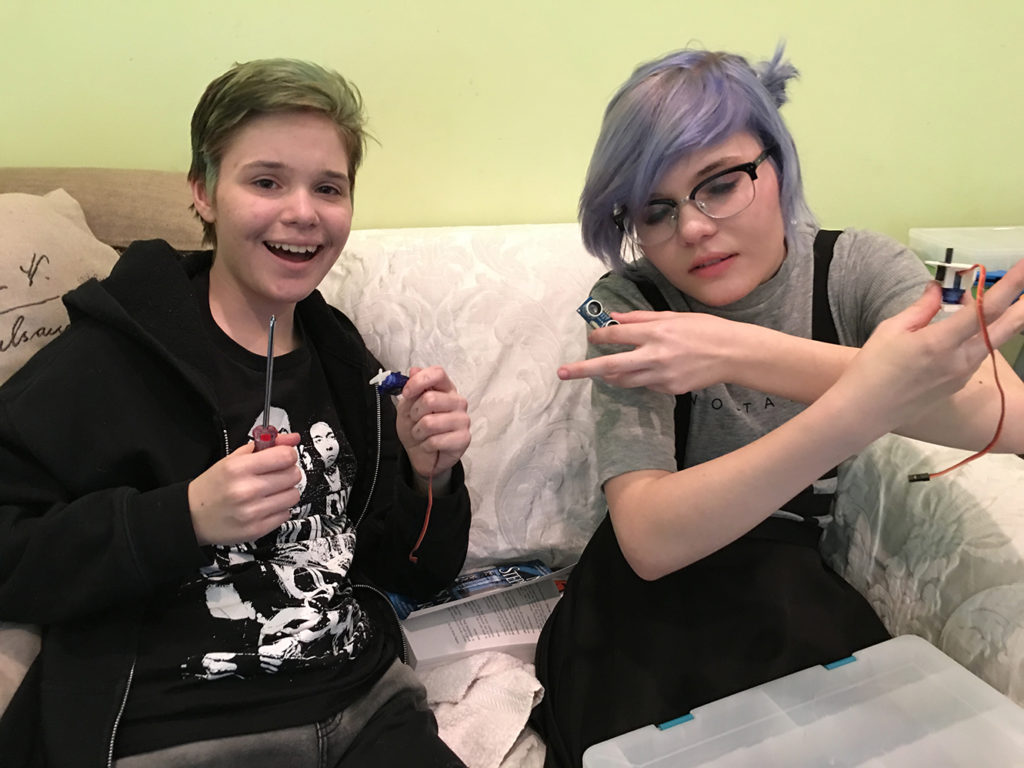
And here they are, my daughters Maddie and Cas, who were kind enough (at least for a little while) to put up with a lot of fidgeting with tiny wires.
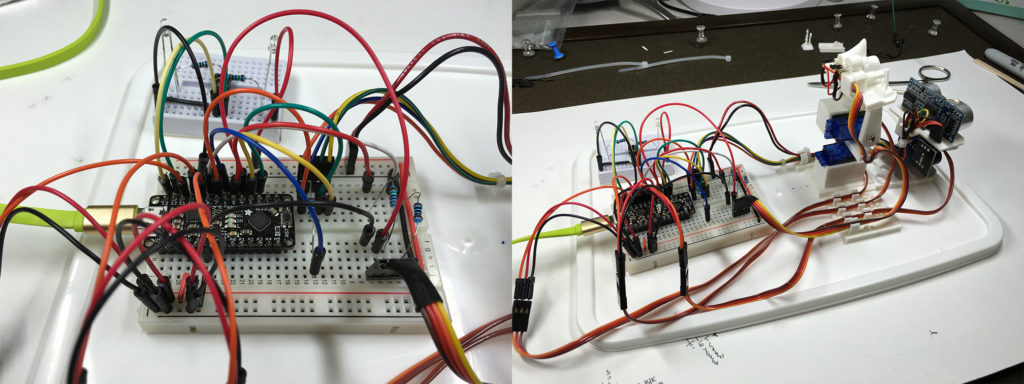
These two images show the connections to the Metro Mini and the completed turret. Even with 28-guage wire, the wire (and its weight/tension) contributed significantly negatively to optimal turret operation. In other words, maybe I should have used even smaller wires… or better yet, a BIGGER turret!
Next time, perhaps.
Testing & Demonstration
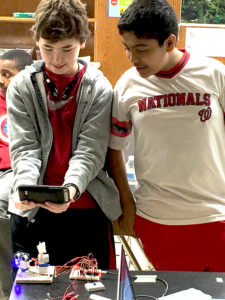
Cas and Maddie helped me test the turret in a large basement room. A few tweaks to the programming was all that was needed to start tracking and firing at the girls as they moved around the room.
At the middle school, the kids enjoyed trying to evade the automated firing system, but were quick to exploit the limitations of the platform, such as having everyone attack at once. Sun Tzu might be proud, Grand Moff Tarkin, maybe not so much.

